
How To Create A Sensory Room On A Budget
A successful budget sensory room doesn’t start with a shopping list, it starts with a plan. Understanding which sensory elements are essential, what can be introduced later, and where low-cost sensory equipment makes sense can dramatically reduce unnecessary spending. With the right approach, even limited budgets can create sensory spaces that are calming, engaging, and built to last.
Carry on reading to find out more!
Even The Smallest Budgets Can Make A Big Impact
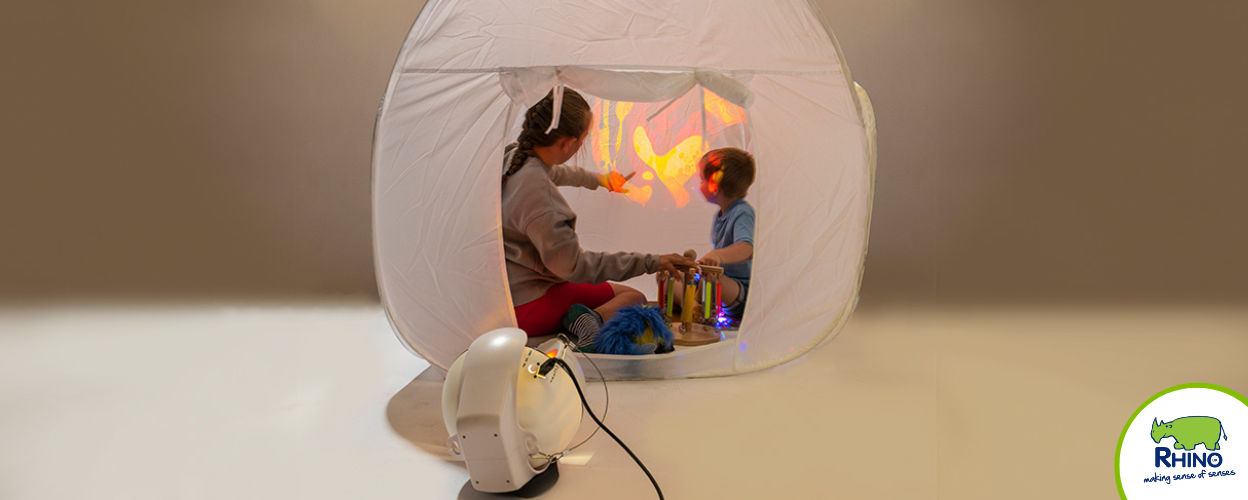
You’ll be surprised by how far a few sensory lights and soft tactile resources will get you. Grab some blankets and cushions (tactile, positioning), roll down the blackout blinds (visual), put on your favourite playlist (sound), and light up the room with a sensory projector – focusing on the dancing lights and calming your sensory systems.
DIY sensory spaces are a simple, quick, and effective alternative to building a dedicated sensory area. If you need a bit of help creating a quick sensory den, check out our blog on building a Sensory Den.
Invest In Your Needs
You might think creating a sensory room requires a big investment. But really, it’s more about investing your time.
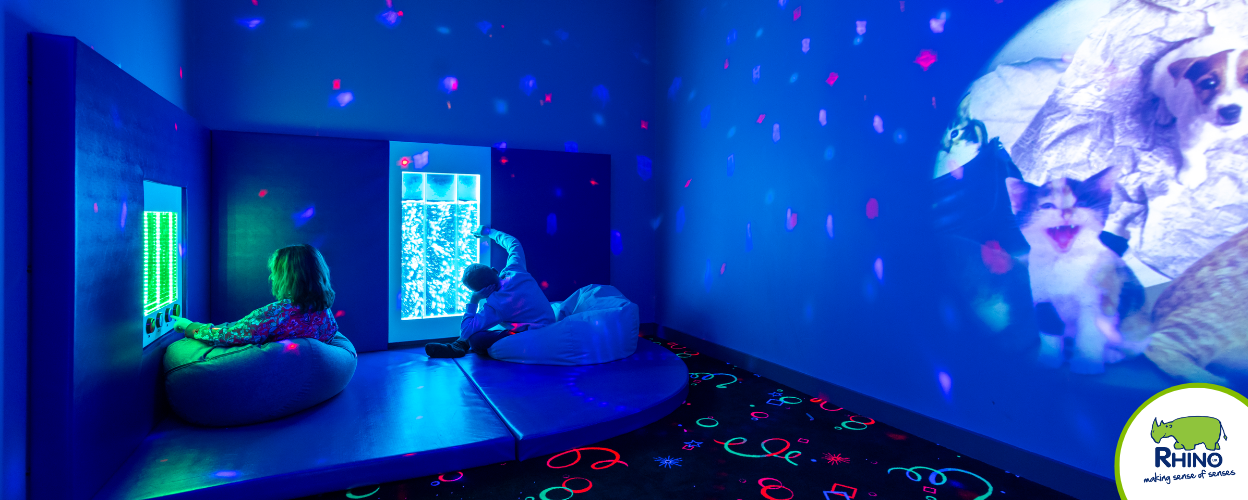
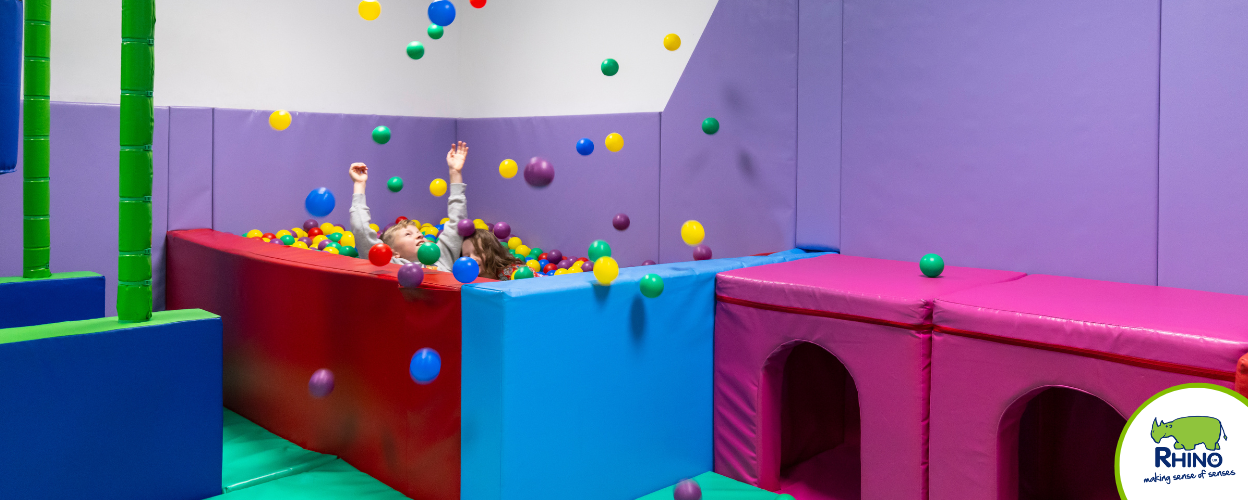
It’s important to build a room that’s specially curated to your users’ needs. If they seek visual stimulation, we’d recommend a Dark Room filled with glowing lights, or if they’re looking to build gross motor skills, we’d recommend creating an adventurous Soft Play Room.
Understanding your sensory preferences helps you save money by sourcing only products that work for you. Of course, some products are going to be more expensive than others, but that shouldn’t stop you from creating a space that will best support your needs.
“There’s no point in having a room filled with expensive resources if only a handful are going to make a meaningful difference for your users” – Howard.
Why Cheap Isn’t Always The Best Answer
Price is paramount. But choosing the cheapest available products may end up costing you more money in the long run.
There’s usually a reason why someone is selling a product at a lower price. They might have had less thorough safety checks, been made from lesser quality materials, or not have been primarily designed for sensory use. These factors can create problems of their own, including more frequent repairs, features that don’t work properly, and they may even be unsafe for sensory play.
All of these factors can cheapen your sensory experience. So even though they might initially be more expensive, higher-quality items could save you money over time.
Start With The Essentials
At their core, sensory rooms are designed to calm, stimulate and regulate individuals and their senses. Sensory Room resources are typically designed to focus on a single sense (e.g., our Vibrating Snake is perfect for proprioceptive stimulation), but some offer a nourishing multisensory experience.
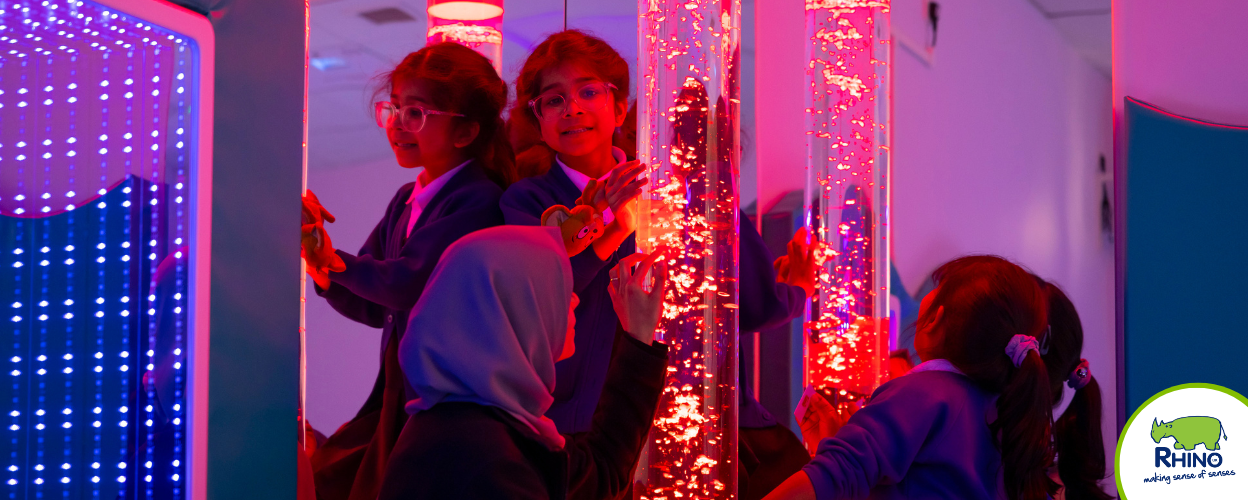
We’d recommend starting with a Bubble or Hurricane Tube. With calming mood lighting, a distracting bubble/snowstorm effect, and a safe-to-touch tactile experience, we believe that they’re a sensory room classic for good reason!
Or if you’re looking to start at the very basics, you could try starting with our Laser Sphere! It creates a dazzling sensory light show in darkened rooms. Paired with your favourite blanket and an out-of-this-world playlist on your speaker, you can create a cheap and effective multisensory experience.
For more information about creating a sensory room on a budget.
Build Your Sensory Room In Phases
Save yourself the stress of a deadline and the limitations of a budget by planning your sensory room development in phases.
Start with the basics (e.g. Bubble Tube & Podium) to create a functional space for calming, regulation, and learning, then build from there. Add an element of safety with Safety Padding or transform the space with LED Wall Wash lighting.
Our sensory team are more than happy to work with this flexibility in mind. They can help you plan your dream sensory space in stages, to meet your needs and budget.
If you’re really feeling the pinch of a budget, why don’t you check out our grants and fundraising packs? They’re filled with information about funds that might be available for you to take advantage of.

Our Sensory Team Is Here To Help
Remember that our skilled sensory design team are happy to help you create a sensory room, whatever the budget. From small, repurposed cupboards to large sensory areas, we’ve transformed them all. Get in touch via our contact form today, we can’t wait to hear from you!